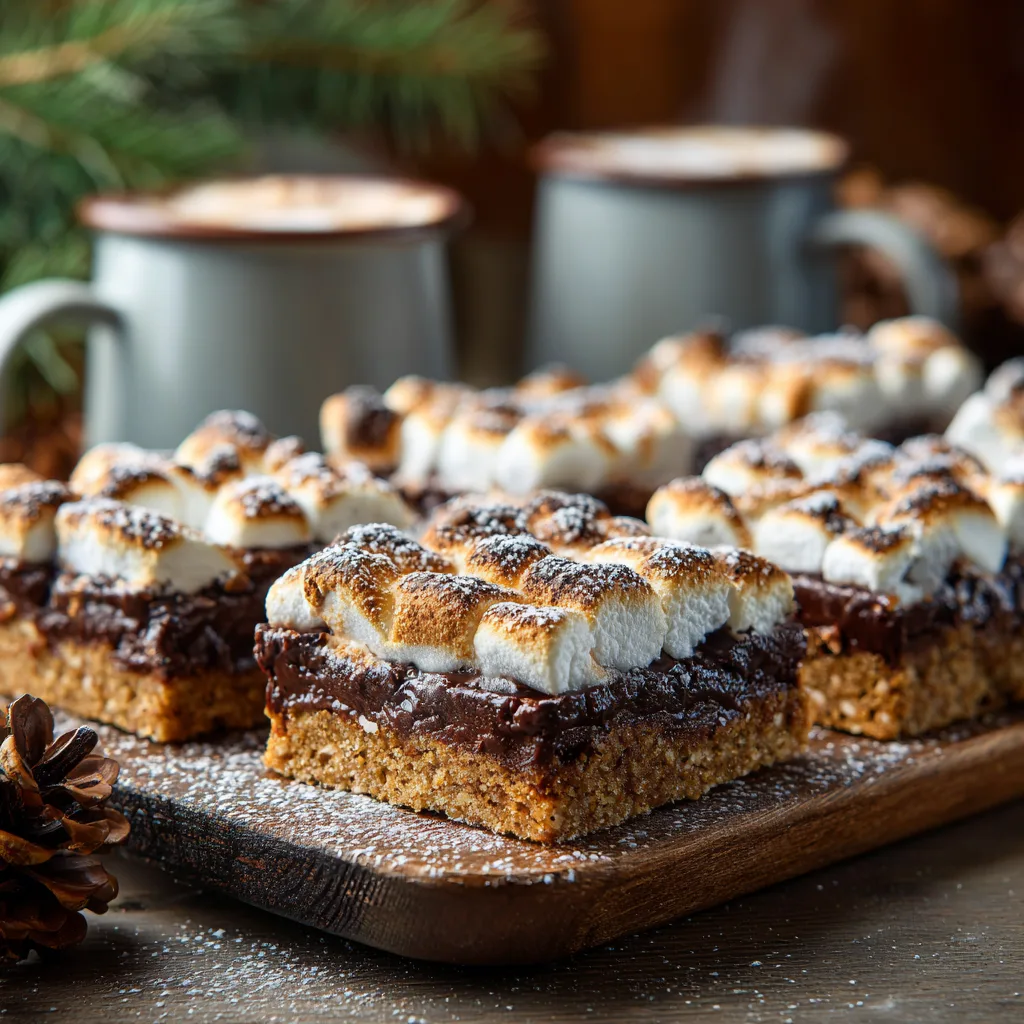
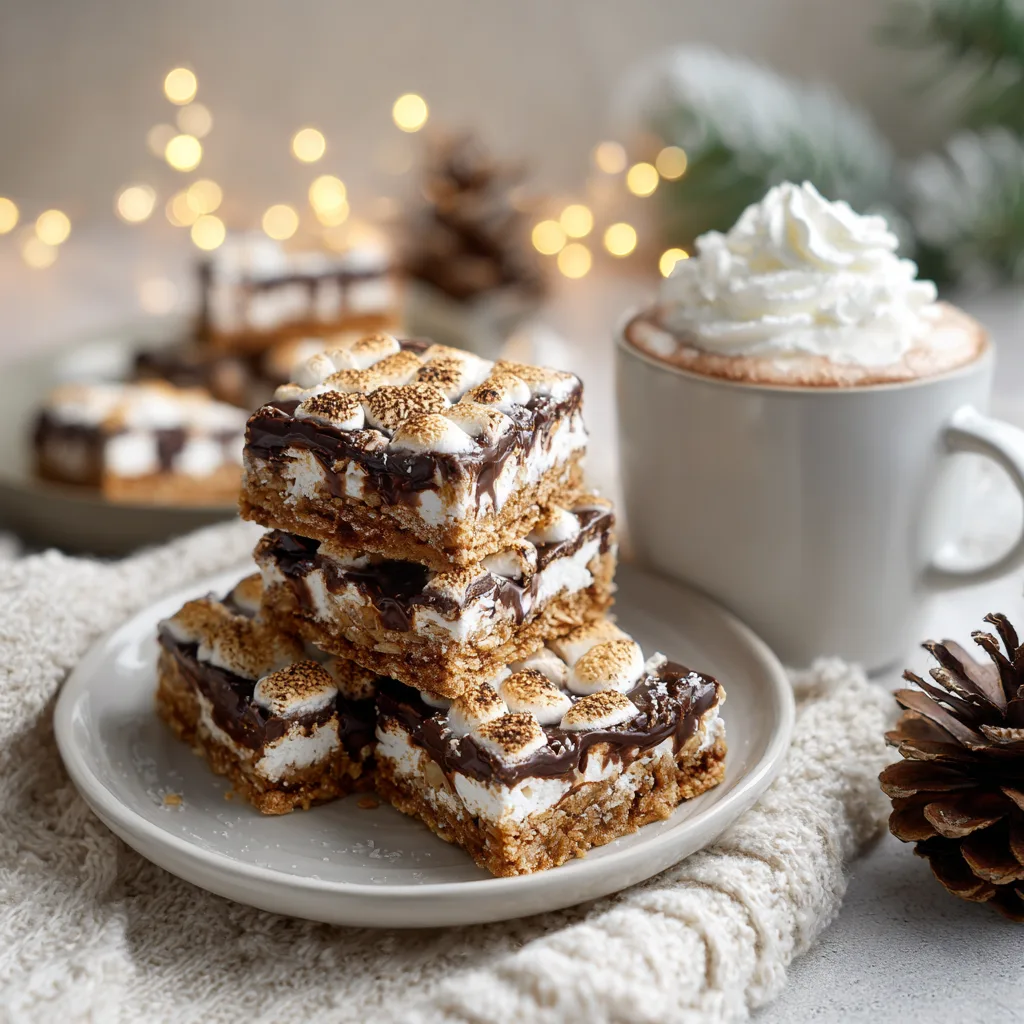
When temperatures dip and holiday vibes kick in, I crave a cozy twist on classic treats. That’s why I fell head over heels for my Winter S’mores Bars recipe—one of my favorite Thanksgiving Desserts. Ever wondered why everyone goes gaga for gooey marshmallows melded with rich chocolate? Well, this little bar packs all the nostalgia of a campfire s’more into a neat, oven-baked square that’s perfect for any of your Thanksgiving Treats tables. I first stumbled across this idea during a chilly fall camping trip when we forgot graham crackers but had an abundance of marshmallows and chocolate. Back home, I thought, why not marry these three ingredients in a bar pan? The result felt like pure genius—no sticky fingers, no smudge on your cheeks, just a neat square of bliss. Last year, I brought these to Aunt Claire’s feast, and trust me, they vanished in minutes—no drama, just pure chocolatey joy. Looking for Thanksgiving Desserts Easy enough to whip up in under an hour? I got you. This recipe fits right in with your Thanksgiving Baking Recipes lineup and pairs flawlessly with other Thanksgiving Appetizers or Thanksgiving Side Dishes. Plus, you can tweak it with seasonal spices or festive toppings—talk about Thanksgiving Dessert Ideas on the fly. These bars still deliver that satisfying chew and crunch, thanks to a buttery graham base that doesn’t get soggy in record time. I still remember my nephew sneaking in the kitchen for a second piece before dinner even started. I even love them for holiday movie marathons, Friendsgiving shindigs, or as a wacky Thanksgiving Food Idea when pies just won’t cut it 🙂 Are these bars not perfect for a relaxed evening with hot cocoa, or to show off at your holiday potluck? IMO, this is the recipe that’ll make you the star baker of the season. Let’s get to it!
Table of Contents

Winter S’mores Bars
Ingredients
Equipment
Method
- Preheat oven to 350°F (175°C). Line an 8×8-inch pan with parchment paper, leaving overhang for easy removal.
- Mix graham cracker crumbs, melted butter, sugar, cinnamon (if using), and salt in a bowl until evenly moistened.
- Press the mixture firmly into the bottom of the prepared pan. Bake for 8–10 minutes or until golden. Let rest for 2 minutes.
- Sprinkle chocolate chips evenly over the warm crust, then top with mini marshmallows.
- Bake for another 5–7 minutes, or until marshmallows puff up. Optionally broil for 20–30 seconds for a toasted finish.
- Cool completely on a wire rack, lift out using parchment, and slice into squares.
Nutrition
Notes
Tried this recipe?
Let us know how it was!Ingredients

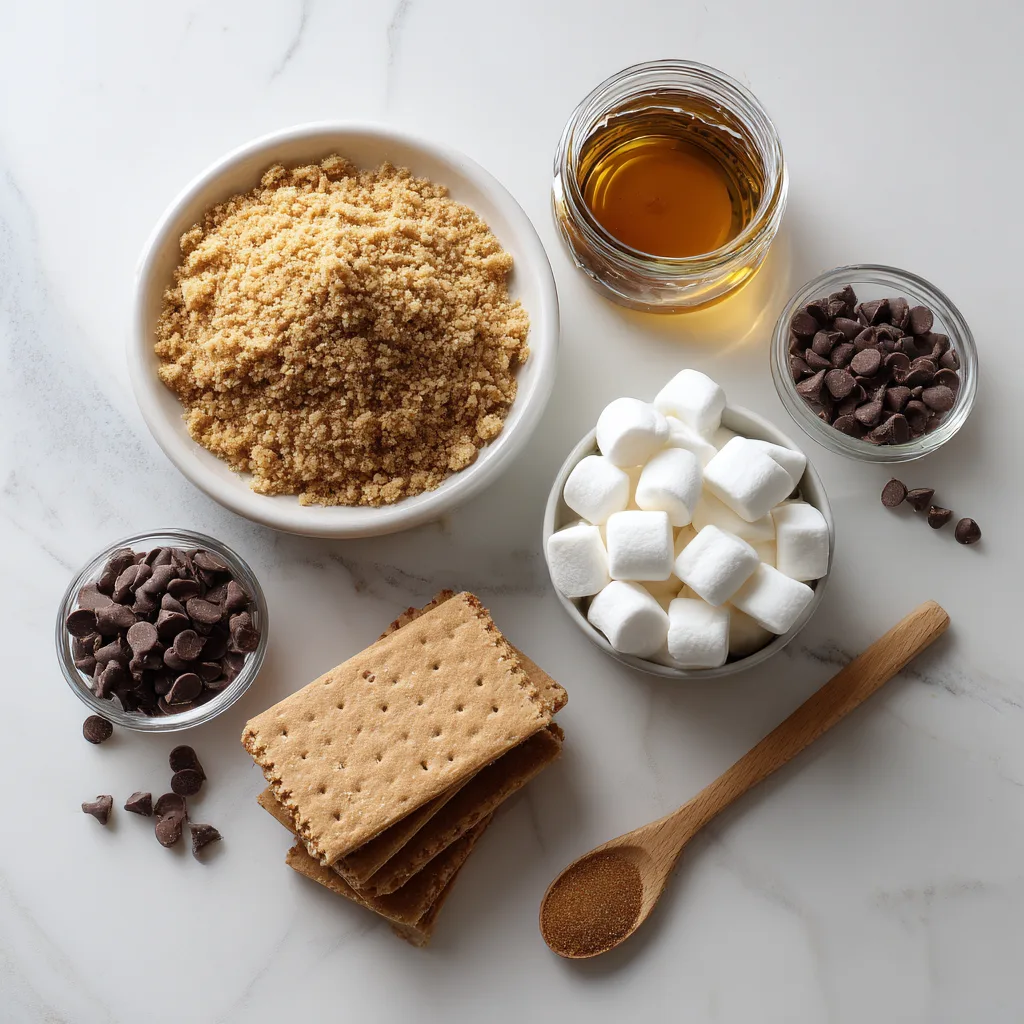
- 1½ cups graham cracker crumbs
- ½ cup unsalted butter, melted
- ¼ cup granulated sugar
- 2 cups mini marshmallows
- 1 cup semisweet chocolate chips
- ½ cup white chocolate chips
- ½ teaspoon cinnamon (optional)
- Pinch of salt
Instructions
- Preheat your oven to 350°F (175°C). Line an 8×8-inch pan with parchment paper, letting excess hang over the sides for easy removal. This makes cleanup a breeze and helps you lift the bars out in one piece.
- In a medium bowl, mix graham cracker crumbs, melted butter, sugar, cinnamon, and salt. Stir until the crumbs are evenly moistened and hold together when pressed. For extra flavor, you can toast the crumbs lightly in a dry skillet before adding butter.
- Press the crumb mixture firmly into the bottom of your prepared pan, creating an even buttery crust. Use the back of a measuring cup to compact it tightly. This step ensures your bars have a sturdy base, so don’t skip packing it well.
- Bake the crust for 8–10 minutes until it turns golden and fragrant. You’ll know it’s ready when you catch that toasty aroma. Remove it from the oven and let it sit for 2 minutes—no overthinking, just a quick rest.
- Sprinkle the semisweet chocolate chips evenly over the warm crust, followed by a layer of mini marshmallows. Don’t be shy; pile them on for maximum gooeyness. Use a small offset spatula to gently nudge any rogue chips back in place so everything bakes uniformly.
- Bake for another 5–7 minutes until the marshmallows puff up beautifully. Keep an eye on the edges to avoid burning. A slightly underbaked marshmallow retains its melty core, so trust the jiggle test.
- Optional: Switch to broil on high for 20–30 seconds to get those marshmallows perfectly toasted. Watch closely—broilers have a mind of their own and can turn your topping from golden to charcoal in seconds. If it sparks joy, remove it immediately.
- Remove the pan from the oven and let it cool completely on a wire rack. This might test your patience, but cooling helps the layers set. Once cool, use the parchment overhang to lift out the bar slab and slice into squares. A sharp knife sprayed lightly with nonstick spray gives you clean cuts every time.
Variations
If you want to shake things up, start by swapping the semisweet for dark chocolate chips or add a handful of butterscotch bits for a buttery twist. Each variation delivers a different flavor profile, so feel free to mix and match chips until you find your sweet spot. I once tried white chocolate with a pinch of sea salt—and boy, was it a revelation (peppery meets sweet, anyone?). You can also stir ½ teaspoon of pumpkin pie spice or a hint of cayenne pepper into the marshmallow layer for unexpected warmth. These simple swaps turn the bars into a versatile Thanksgiving Baking Recipe that never gets boring.
For extra crunch, sprinkle chopped pecans, walnuts, or toasted almonds on top just before the final bake. If you’re a caramel fiend, drizzle warmed caramel sauce over the cooled bars and let it set for a gooey finish. Want a festive pop? Crush peppermint candies or mini candy canes and press them gently into the marshmallows right out of the oven. You can even drop dollops of peanut butter or Nutella onto the warm bars, swirling it lightly for a rich, nutty ribbon. These twists make your Winter S’mores Bars some of the most memorable Thanksgiving Dessert Ideas you’ll ever serve.
Serving & Tips
Serve these bars warm with a scoop of vanilla ice cream or a mug of hot cocoa for the ultimate cozy pairing. I love laying them out on a rustic wooden board to let guests graze alongside other Thanksgiving Appetizers like spiced nuts or mini cranberry brie bites. These squares also shine in a brunch spread with fresh fruit and coffee—trust me, they pair surprisingly well with a crisp mimosa. If you’re hosting an adult gathering, set up a mini s’mores bar with extra toppings so people can customize their squares. Seriously, food stations always score bonus points on Pinterest and make your Thanksgiving Food Ideas look like a million bucks.
Store leftovers in an airtight container at room temperature for up to 3 days or in the fridge for 5 days—no one wants stale marshmallows. To freeze, cut bars into squares and layer them between parchment sheets in a sealed bag; they’ll last up to a month for quick snack attacks. When you’re ready to indulge, briefly thaw at room temperature or zap in the microwave for 10–15 seconds for that ooey-gooey feel. Pro tip: toss a small slice of apple or a marshmallow in the container to keep moisture levels just right. This method works wonders and ensures your bars stay fresh for spontaneous holiday cravings.
If you plan to transport these to a Friendsgiving or holiday market, stack the bars in a loaf tin lined with parchment. Use festive twine and a sprig of rosemary to tie the tin shut—your gift looks like a pro’s package. These bars also freeze beautifully, making them perfect for surprise visits; simply pop a couple in a decorative bag for an instant homemade holiday gift. They’ll earn you all the brownie—or should I say s’more—points for thoughtful hosting.

Final Thoughts
I still can’t believe how a few simple ingredients can create something so magical. These Winter S’mores Bars capture everything I love about the holidays—warmth, nostalgia, and a bit of childhood whimsy wrapped into every square. They also prove that you don’t need a bonfire or even a stick to enjoy the best part of camping season. When I serve these at my annual fall gathering, people always ask for the recipe, and I love watching their eyes light up as they take that first melty bite. Plus, they work for all my Thanksgiving Side Dishes tables or as a sweet finish to any Thanksgiving Food Recipes lineup.
Whether you’re hunting for Thanksgiving Desserts Recipes or a standout Fun Thanksgiving Desserts idea, this recipe fits the bill. The best part? You likely have most of these ingredients on hand, so you can skip that extra grocery run and dive straight into baking. Thanks for hanging out in my kitchen and letting me share this cozy treat with you. Now go bake something epic, tag me on your IG or Pinterest, and enjoy every last ooey-gooey bite with people you love! And if you ever need a quick pick-me-up during the holiday bustle, keep a pan of these bars on standby—trust me, stress melts away with each bite.
FAQs
Can I make Winter S’mores Bars ahead of time?
Yes! You can bake them up to 2 days in advance if you’re looking to lighten your holiday day load. Let the bars cool completely, then store them in an airtight container at room temperature to keep the marshmallows from hardening. If you want to prep even earlier, you can fully assemble the unbaked bars, wrap tightly in plastic wrap, and freeze for up to a week—just bake from frozen, adding a couple of extra minutes to the bake time. Reheat briefly before serving to restore that signature gooey texture. This approach frees up oven space and helps you avoid last-minute kitchen chaos.
How do I store leftover bars?
Keep leftovers in an airtight container to maintain that fresh-baked quality. At room temperature, they stay soft for about 3 days; pop them in the fridge and they’ll keep for up to 5 days. For longer storage, individually wrap each square and freeze in a sealable bag for up to 1 month. To refresh, thaw at room temperature or briefly microwave for 10–15 seconds—just enough to revive the melty essential goo without melting everything into oblivion. You can also reheat in a toaster oven for a lightly crisped top if you prefer extra texture.
Can I use gluten-free graham crackers?
Absolutely. Swap regular graham crackers for a gluten-free variety in a 1:1 ratio without losing that classic crunch. Make sure to read your marshmallow and chocolate chip labels as well, since some brands use wheat starch or barley malt. If you’re feeling adventurous, try a grain-free almond flour crust for a paleo-friendly spin—just add a bit more sweetener to balance the nutty flavor. For a vegan twist, choose non-dairy chocolate chips and plant-based marshmallows, and replace butter with coconut oil. This flexible approach makes these bars a crowd-pleasing Thanksgiving Food Recipe for everyone at your table.
What’s the best way to reheat them?
To bring back that just-out-of-the-oven feel, slide the bars into a preheated 300°F oven for 5 minutes—no need to unwrap. If you’re in a hurry, microwave a single square for about 10–15 seconds; it will soften the marshmallow and warm the chocolate nicely. For a fun twist, pop a bar under the broiler for 5–10 seconds to re-toast the marshmallow top—just watch it, because it can burn in a flash. Both methods work like a charm to restore that gooey delight you baked them for. You might also try a quick skillet warm-up on low heat for 30 seconds each side if you like a slightly crisp edge.
Follow me on Pinterest for more Thanksgiving Desserts recipes!
