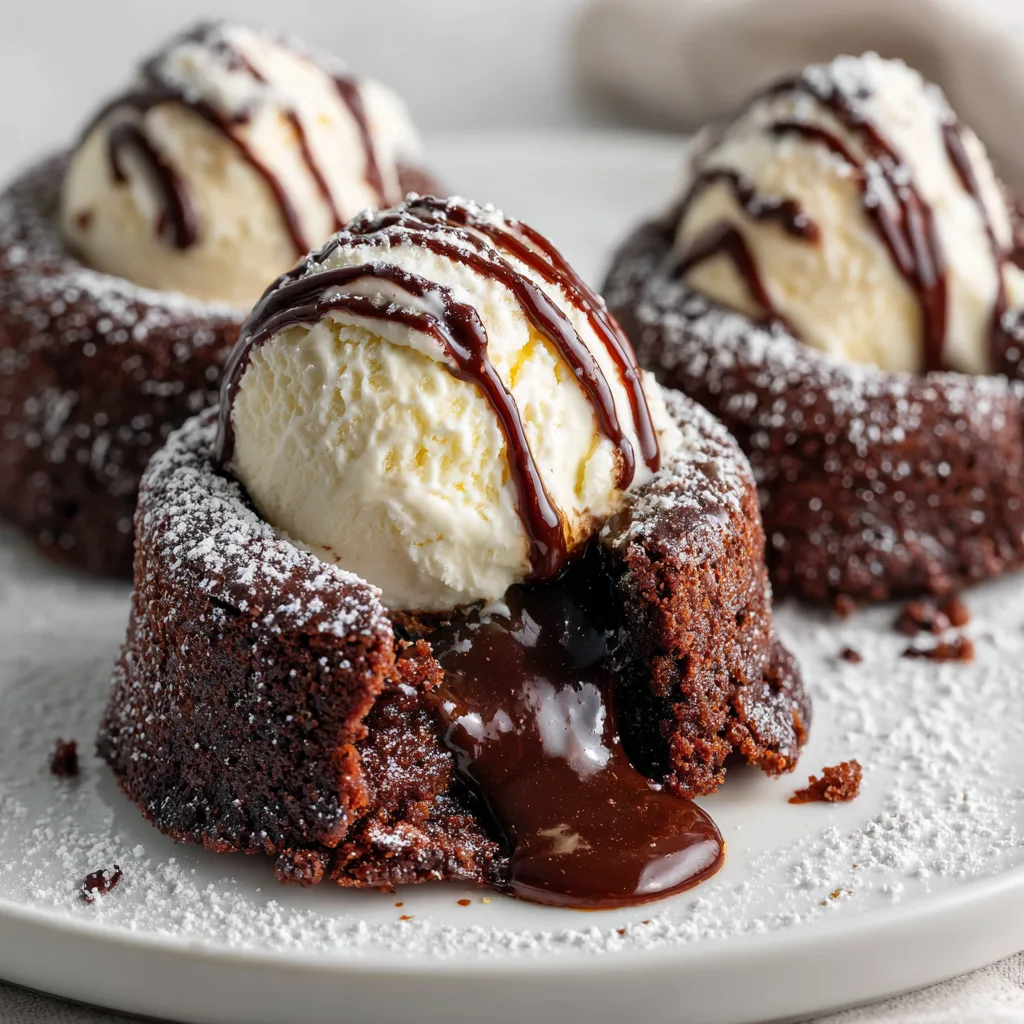
Looking for a show-stopping **Thanksgiving Desserts** recipe that brings all the cozy vibes and ooey-gooey chocolate magic? You’ve landed in the right spot. I’ve been whipping up these Hot Chocolate Lava Cakes every fall, and trust me, they’re the talk of every table—right between the **Thanksgiving Side Dishes** and those over-the-top **Thanksgiving Appetizers** you pretend you can’t live without.
I first stumbled on this recipe when I wanted something beyond the usual pies and bars. Ever wondered why molten lava cakes feel so fancy yet so easy? Spoiler: they’re pretty much foolproof, and they hit your sweet tooth exactly where it needs. Whether you’re chasing **Thanksgiving Treats** for a crowd or craving some **Fun Thanksgiving Desserts** solo, this recipe delivers.
IMO, these cakes steal the show. I’ve served them after a marathon of **Thanksgiving Baking Recipes**, and folks always ask, “Hey, where’d you get that?” FYI, it’s just a handful of ingredients you probably already have. And yes, you can absolutely pair them with whipped cream, ice cream, or go wild with my fun toppings suggestions later. 😉
In this article, I’ll walk you through everything—from **Ingredients** to **Tips**—so your kitchen smells like a café and your guests leave with full bellies and big smiles. Ready to wow everyone with one of the easiest **Thanksgiving Food Ideas** ever? Let’s dive in!
Table of Contents

Hot Chocolate Lava Cakes
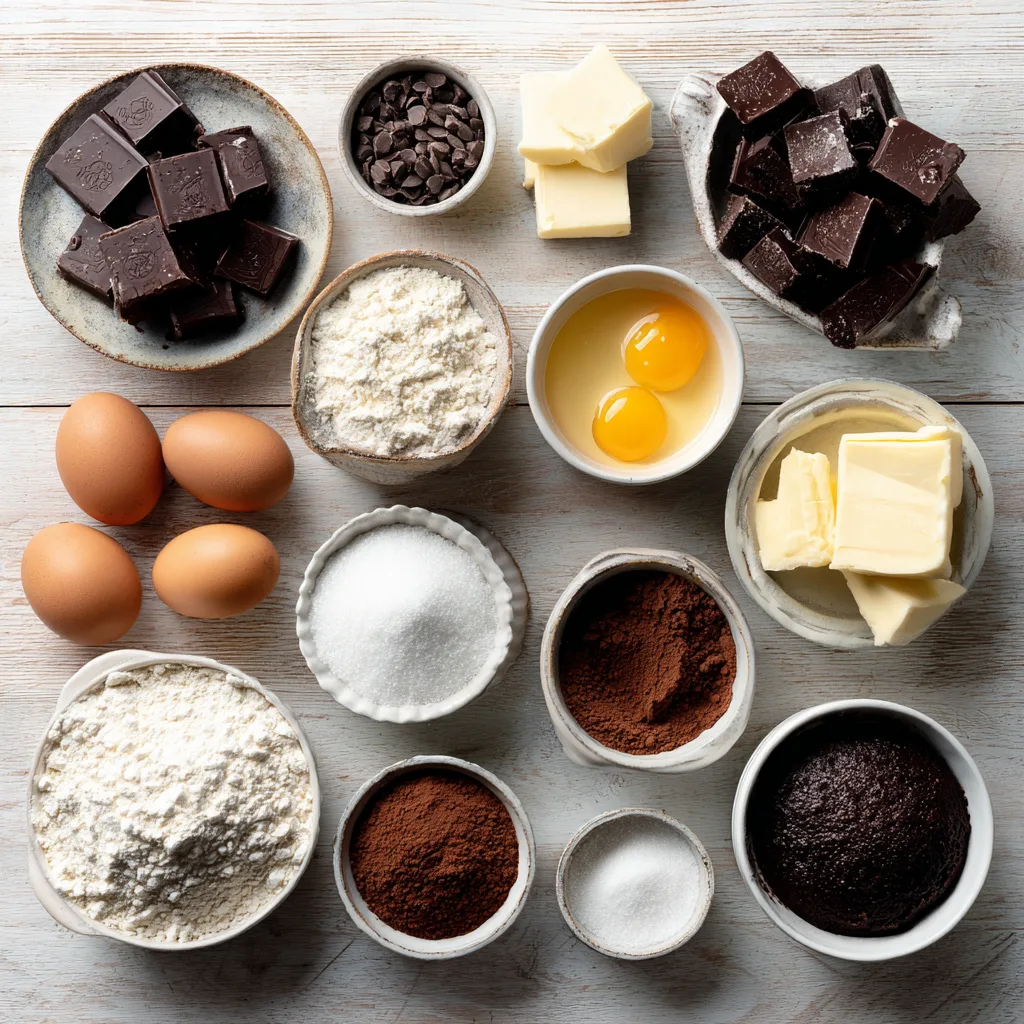
Ingredients
Equipment
Method
- Preheat oven to 425°F (220°C). Butter four 6-ounce ramekins and dust with flour, tapping out excess.
- Melt butter and chopped chocolate in a double boiler or microwave (in 20-second bursts), stirring until smooth.
- In a separate bowl, whisk eggs, egg yolks, and sugar until pale and slightly thickened.
- Stir the warm chocolate mixture into the egg-sugar mix until fully combined.
- Gently fold in the flour, vanilla extract, and salt until just combined and no dry streaks remain.
- Divide batter evenly among the prepared ramekins. Place on a baking sheet.
- Bake for 12–14 minutes until edges are set and centers still jiggle slightly.
- Let rest for 1 minute. Invert onto plates and serve immediately with ice cream or whipped cream.
Nutrition
Notes
Tried this recipe?
Let us know how it was!Ingredients

- 4 ounces semi-sweet chocolate (chopped into small pieces)
- 4 tablespoons unsalted butter, plus extra for ramekins
- 2 large eggs
- 2 large egg yolks
- ¼ cup granulated sugar
- 2 tablespoons all-purpose flour
- Pinch of salt
- Optional for serving:
- Powdered sugar for dusting
- Vanilla ice cream or whipped cream
- Fresh berries or mint leaves
Instructions
- Preheat & Prep. Heat your oven to 425°F (220°C). Generously butter four 6-ounce ramekins—this ensures your cakes slide right out!
- Melt Chocolate & Butter. In a microwave-safe bowl, combine chopped chocolate and butter. Microwave in 20-second bursts, stirring each time, until smooth and glossy.
- Whisk Eggs & Sugar. In a separate bowl, whisk together eggs, yolks, and granulated sugar for about 1 minute until pale and slightly thickened. This step adds air for a lighter cake.
- Combine. Pour the warm chocolate mixture into the egg mixture. Gently fold until you see no streaks. Add flour and salt, then fold until just blended. Avoid overmixing—nobody wants a tough cake.
- Fill Ramekins. Divide batter evenly among prepared ramekins. I use a small ladle to keep it neat.
- Bake. Place ramekins on a baking sheet and bake for 12–14 minutes. The edges should look set while the centers jiggle slightly when nudged.
- Rest & Release. Let cakes rest for 1 minute, then run a small knife around the edge of each cake. Invert onto individual plates. Voilà!
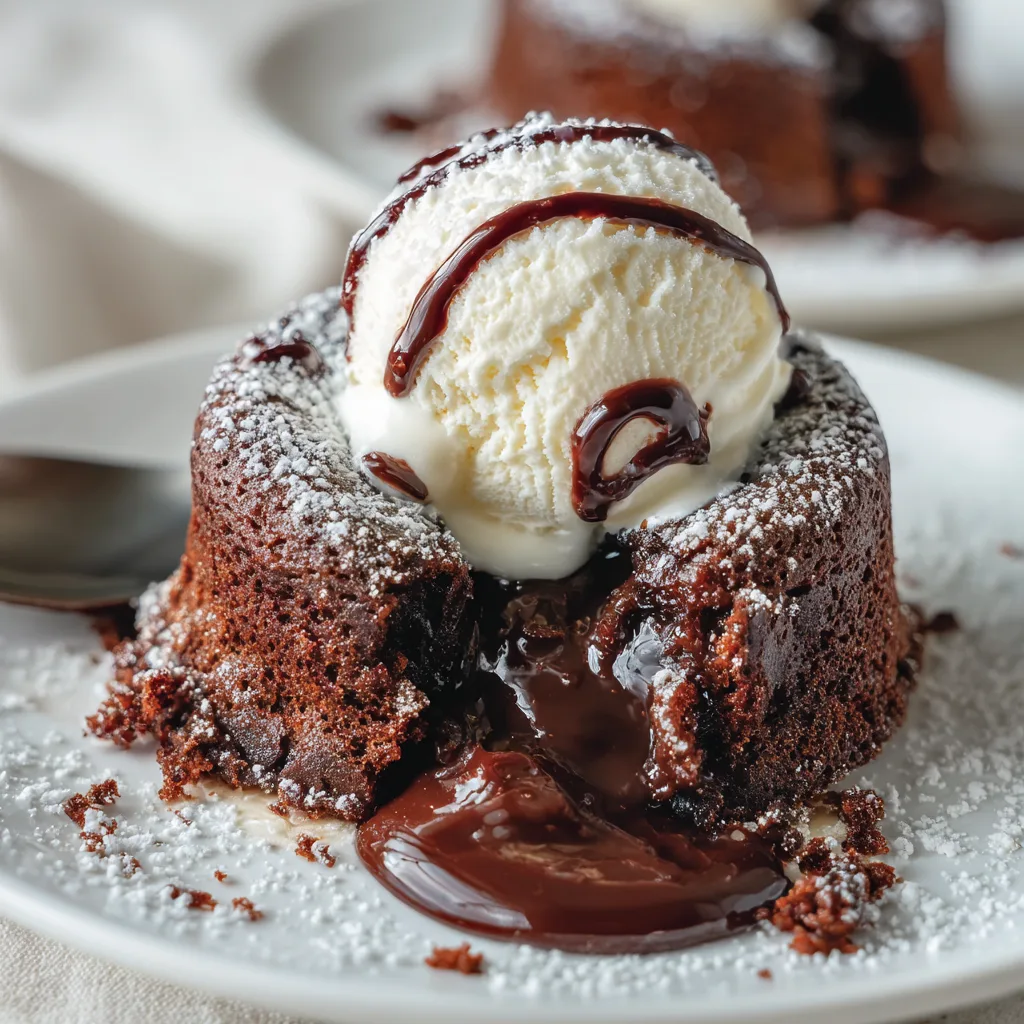
- Serve. Dust with powdered sugar, top with ice cream or whipped cream, and garnish with berries or mint. Dig in while the center flows like lava!
Variations
Spice up your **Thanksgiving Desserts Recipes** with these creative twists:
- Peppermint Mocha Lava: Stir in ½ teaspoon peppermint extract and top with crushed candy canes.
- Salted Caramel Surprise: Drop a teaspoon of caramel sauce in the center before baking, and finish with flaky sea salt.
- Spicy Aztec: Add ¼ teaspoon cayenne pepper and a pinch of cinnamon for a subtle kick that pairs perfectly with hot cocoa.
Serving & Tips
These cakes shine when you serve them warm and fresh. Here are some pro tips for that picture-perfect moment:
- Prep Ahead: You can assemble the batter in ramekins, cover tightly with plastic wrap, and refrigerate up to 24 hours. Bake straight from the fridge—just add 1–2 minutes to baking time.
- Storage: Baked cakes taste best fresh but store any leftovers in an airtight container at room temperature for up to a day. Reheat in a 300°F oven for 5 minutes to bring back the gooey center.
- Serving Suggestions: Pair with **Thanksgiving Side Dishes** like spiced sweet potatoes or a simple green salad to balance the richness. Craving more dessert ideas? Offer a platter of these alongside mini pumpkin tarts for epic **Thanksgiving Treats** variety.
- Cozy Touch: Set the scene with warm mugs of spiced cider or hot chocolate for a full-on comfort fest.

Final Thoughts
I still remember the first time I saw that molten center ooze out—total kitchen magic! These Hot Chocolate Lava Cakes blend elegance and simplicity in one neat package. They beef up any **Thanksgiving Baking Recipes** lineup and make you look like a pastry pro without the stress.
Next time you’re hunting for **Thanksgiving Dessert Ideas** that hit all the right notes, give these bad boys a whirl. They satisfy chocolate cravings and spark genuine “oohs” and “aahs.” Trust me, your guests will be talking about them long after the last bite. 😉
Ready to make your dessert table the star of the holiday? Let’s get baking!
FAQs
What makes lava cakes so gooey?
They stay gooey thanks to precise baking times. You want the edges set and the center just barely cooked. The high temperature also helps form that firm exterior while keeping the middle molten.
Can I use dark chocolate instead of semi-sweet?
Absolutely! Swap in dark chocolate for a deeper flavor. Just watch the sugar levels—dark chocolate can be more bitter, so you might add an extra teaspoon of sugar if you like it sweeter.
How do I prevent lava cakes from sticking?
Generous buttering of ramekins does the trick. For extra assurance, dust the insides with a light coating of cocoa powder after butter, tapping out any excess.
Are there gluten-free options?
Yes! Replace the all-purpose flour with a 1:1 gluten-free flour blend. The texture may vary slightly, but you’ll still get that irresistible molten center.
Follow me on Pinterest for more Thanksgiving Desserts recipes!
