
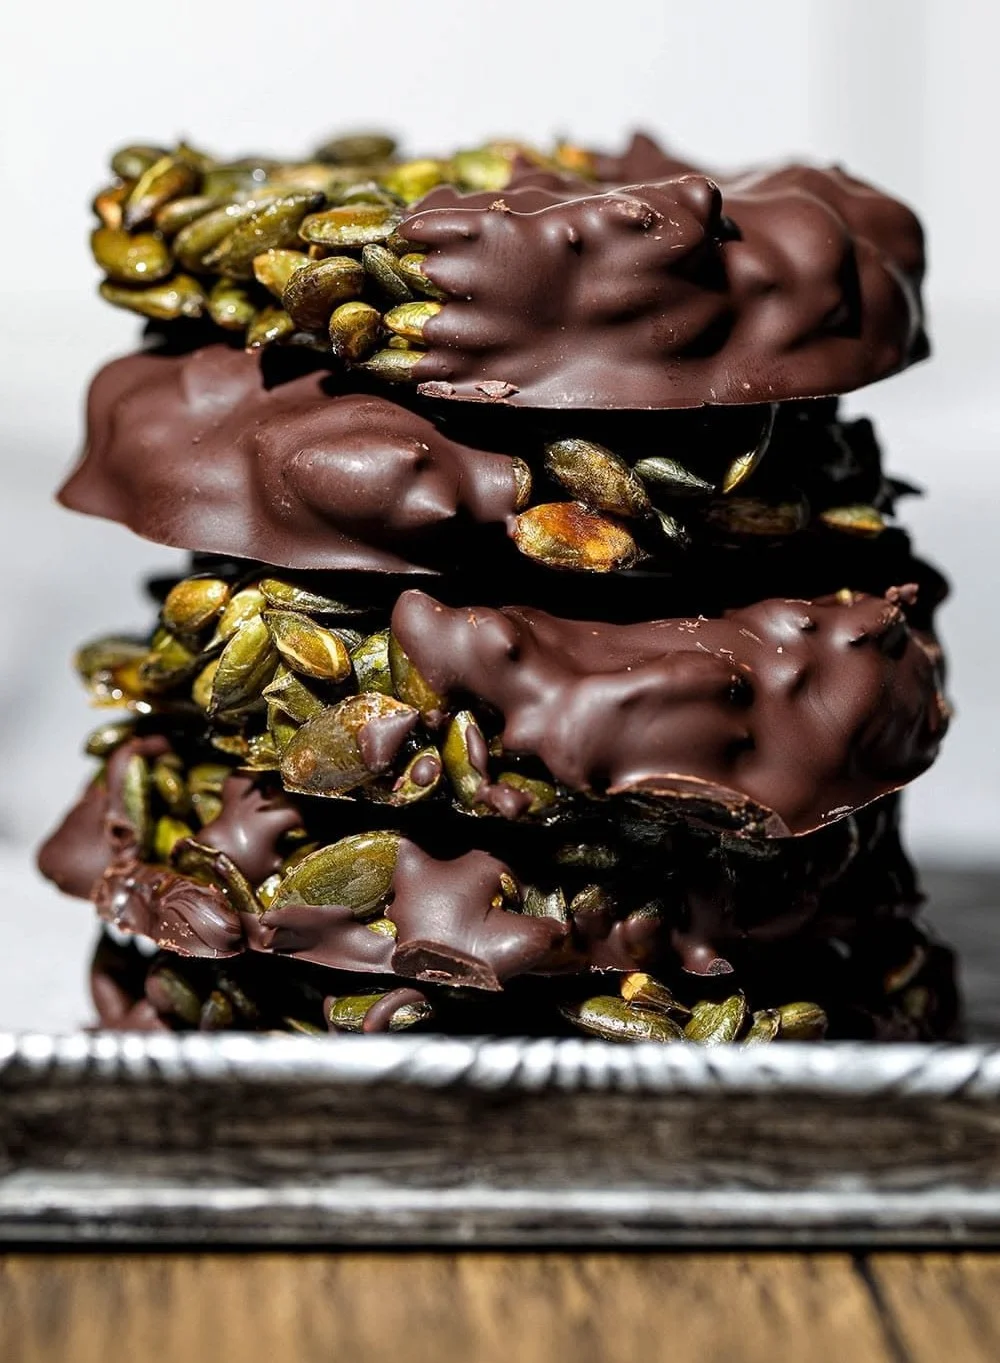
A delightful treat that satisfies both your sweet tooth and your craving for something crunchy—those little bites are perfect for snacking anytime. The combination of rich chocolate and the subtle nuttiness of pumpkin seeds delivers a lovely balance that many enjoy. They also make a thoughtful homemade gift, packaged beautifully for friends or family.
Why you’ll love this dish
What sets these treats apart is their simplicity and versatility. They’re gluten-free, packed with nutrients, and truly easy to whip up. Not to mention, they can be enjoyed on their own or added to a lunchbox for a wholesome treat.
"These pumpkin seed chocolate bites have become my go-to snack! They are delicious and so easy to make. A perfect balance of sweet and crunchy!"
Beyond their taste, the texture offers a satisfying crunch that contrasts beautifully with the smooth chocolate, making each bite enjoyable.
How this recipe comes together
Creating these delightful bites is straightforward and doesn’t require fancy equipment. You’ll start by melting the chocolate, then combine it with the seeds and any flavor additions. Once formed, simply chill them until set.
Prep Time: 10 min | Cook Time: 5 min | Total Time: 15 min
What you’ll need
- 1 cup dark chocolate chips or chunks
- ½ cup raw pumpkin seeds
- ¼ teaspoon sea salt
- Optional: 1 teaspoon vanilla extract, 2 tablespoons honey or maple syrup for sweetness
- Optional: shredded coconut or dried fruit for extra flavor
Be sure to select high-quality chocolate for the best flavor. Dark chocolate typically pairs well with the nuttiness of seeds, but feel free to opt for milk chocolate if you prefer a sweeter treat.
Step-by-step instructions
-
Melt the chocolate: In a heatproof bowl, melt the chocolate chips gently in the microwave in 30-second bursts, stirring after each burst until smooth and fully melted.
-
Mix in the seeds: Add the pumpkin seeds to the melted chocolate. If you’re using any optional ingredients like vanilla or sweeteners, fold them in now. Stir well to ensure all the seeds are coated.
-
Form the bites: Spoon small amounts of the mixture onto a parchment-lined baking sheet, forming bite-sized clusters.
-
Chill to set: Place the baking sheet in the refrigerator for about 30 minutes or until the chocolate has fully hardened.
-
Enjoy or package: Once set, enjoy right away or package them up as gifts!
Best ways to enjoy it
These chocolate bites are fantastic on their own but can also be paired with a steaming cup of coffee or a glass of almond milk for a delightful afternoon snack. For an extra touch, consider serving them with fresh fruit on the side or adding them to a yogurt parfait for an extra crunch.
Storage and reheating tips
To store your bites, keep them in an airtight container in the refrigerator, where they will stay fresh for about a week. If you want to keep them longer, they can also be frozen. Just ensure they are in a freezer-safe container, and they should last for up to two months. When ready to enjoy, simply let them thaw at room temperature.
Helpful cooking tips
Using good-quality chocolate not only enhances the flavor but also makes melting easier. For a more substantial crunch, you can toast the pumpkin seeds for a couple of minutes before adding them to the chocolate—just keep a close eye on them so they don’t burn.
Creative twists
Feel free to get creative with this recipe! You can replace the pumpkin seeds with other nuts or seeds depending on your preference, such as sunflower seeds or almonds. Adding spices like cinnamon or a pinch of chili powder can also give it a unique flavor. If you enjoy different textures, try mixing in some crispy rice cereal for added crunch.
FAQ
Can I use different types of chocolate?
Yes, you can use milk, dark, or even white chocolate. Just keep in mind that the sweetness level may vary depending on your choice.
Do I need to refrigerate the bites?
It’s best to refrigerate them to keep the chocolate firm. However, you can leave them at room temperature for short periods if you prefer a softer texture.
Can I make these vegan?
Absolutely! Just ensure that you use dairy-free chocolate and check that any additional sweeteners are also vegan.
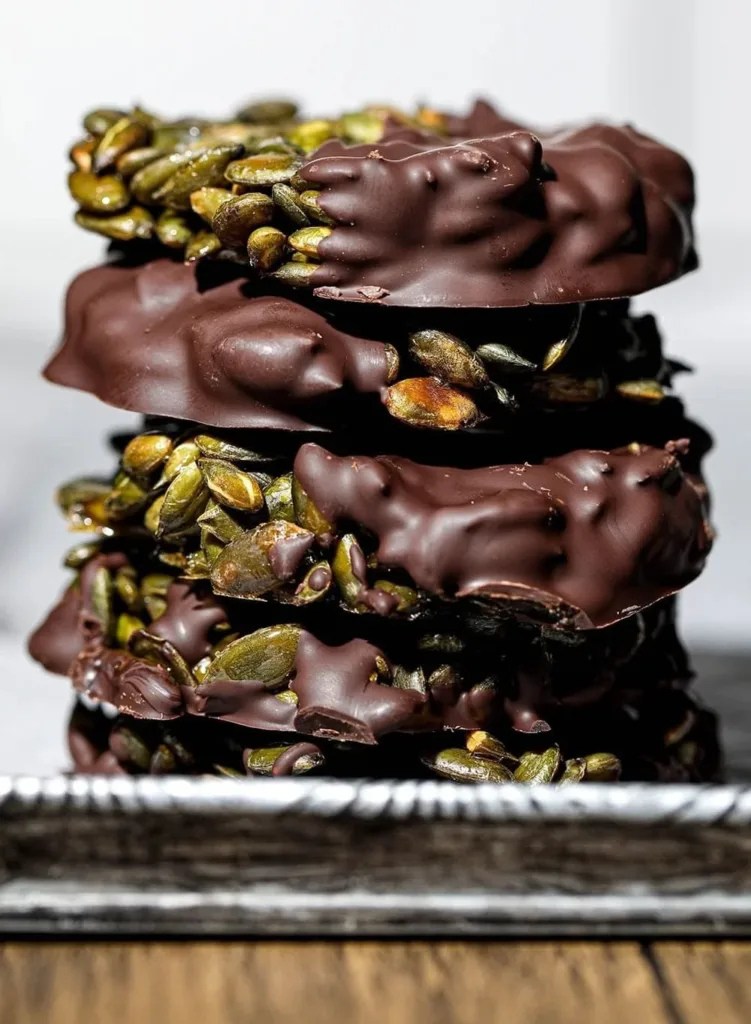
Chocolate Pumpkin Seed Bites
Ingredients
Method
- In a heatproof bowl, melt the chocolate chips gently in the microwave in 30-second bursts, stirring after each burst until smooth and fully melted.
- Add the pumpkin seeds to the melted chocolate. If using any optional ingredients like vanilla or sweeteners, fold them in now. Stir well to ensure all the seeds are coated.
- Spoon small amounts of the mixture onto a parchment-lined baking sheet, forming bite-sized clusters.
- Place the baking sheet in the refrigerator for about 30 minutes or until the chocolate has fully hardened.
- Once set, enjoy right away or package them up as gifts.